When making jewelry, I've always been interested in drawing inspiration from real-world phenomenon. I learned about mokume-gane in a book, and noticed that the pattern looked a lot like the contour lines on a topographic map. I shared this observation with a geologist friend and proposed the idea of designing a ring with an actual topographic map engraved on the outside. He immediately understood the appeal and soon after asked me to design an engagement ring using this concept for him to propose to his girlfriend.
 Mokume-gane. Roughly translates to "wood-grain metal". Image credit: jewelrybyjohan.com.
Concept and Design
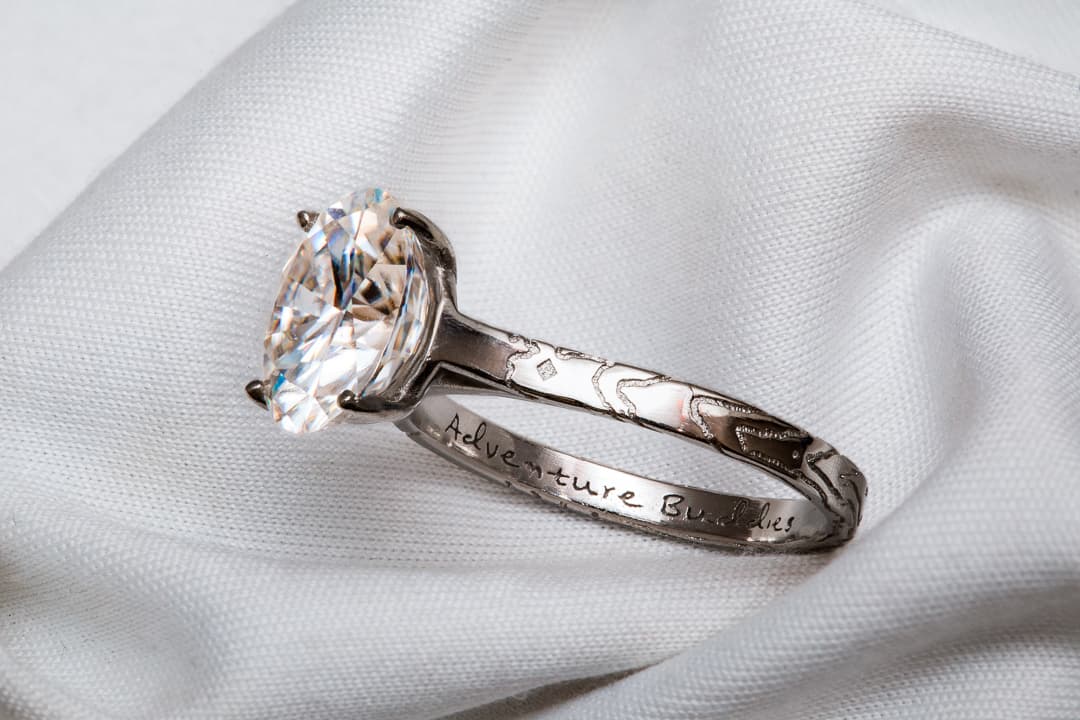
The concept for the ring was to deboss the contour lines of a particular, real-world location into the shank of the ring, which would feature a prong-set stone on top. With a chosen sentimental location in hand, I started gathering geographic data - specifically, topographic maps. Thankfully, the BC government grants free access to topographic maps of the entire province. Accurate down to 1m, these maps are perfectly suitable for this project.
 A topographic map of the Coastal Mountains of BC. Contour lines can easily be generated for any location in the province.
I had never used GIS software before, but having a friend in geology helped immensely (as it turns out, they use topographic maps all the time). I used QGIS, an open-source GIS tool, to produce the contour lines for our chosen location. I used Adobe Illustrator to clean up the vectors, then imported them into Rhino, where I designed the ring.
 The final contour lines used in the design. The green dot marks the point of interest I need to set in the shank.
We used a diamond shape to mark two coordinates of interest on our ring-shaped map, completing the design. Using Rhino, you can wrap any vector shape along a surface, allowing us to deboss the exact pattern without needing to carve it by hand.
 The topographic lines, as seen in Rhino. This strip (red) represents the shank of the ring, which the topographic lines (green) will get "warped" around.
Designing the rest of the ring was made slightly complicated by the sheer size of the stone. In the most scientific way we could, we crafted a wax mold (salvaged from a Babybel cheese snack) and took detailed measurements (still digital photos) to determine the size of the basket needed to hold the stone.
 The impression of the stone in the wax allowed us to measure the exact proportions of the stone.
 Holding the stone out at arms length, we photographed a pair of calipers to decide on the distance from the girdle to the basket.
 A 3D-printed prototype, used to decide on the shape and size of the basket.
 The final ring design. The stone here is simply used as a reference.
Materials
Platinum. Moissanite, 8x10mm, oval cut.
 The raw casting of the final piece (left) pictured next to a prototype cast in silver (right).
Fabrication
The ring was cast in platinum by a casting house as a solid piece. The ring was tumbled, then sanded, then polished. No treatment or plating is needed for platinum.
 The final render of the ring.
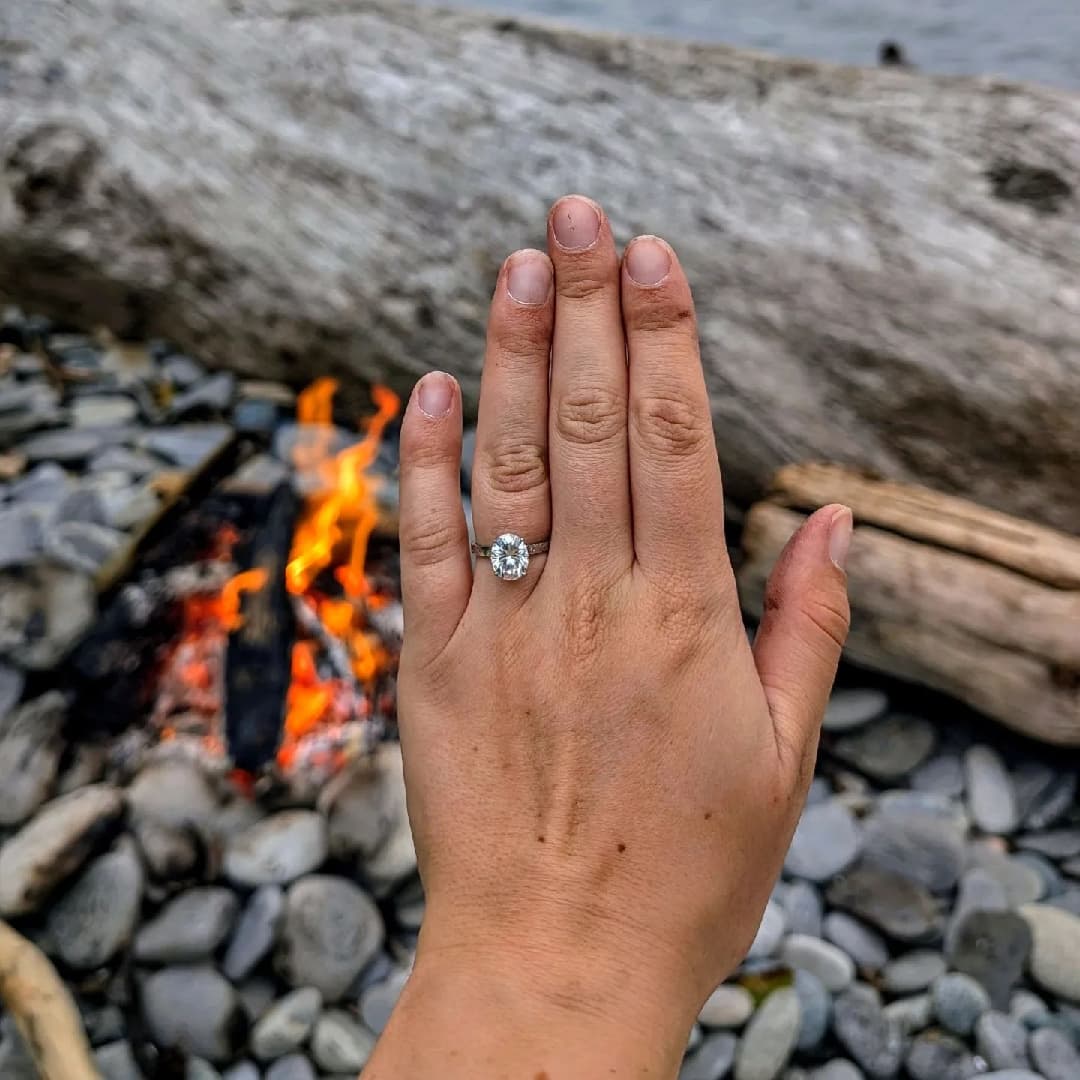
 The final outcome.
Conclusion
